Burnishing a Floor
To burnish/polish a commercially finished floor to achieve the highest possible shine.
Prepping the Burnishing Area -
When burnishing a floor the first thing you'll want to do is close down all possible entrances into the area that you want to burnish. You can do this by either roping off the area, or cordoning it off with wet floor and caution signs. You'll want to make it extremely clear to the public that there can be no foot traffic into the region that you will be working on. Move all furniture, tables, racks and displays that may hinder your progress. Follow the proper dust mopping and wet mopping procedures to ensure the floor is completely free of all dirt and debris. This will help to ensure a clean floor that will achieve the highest shine possible. Starting with a perfectly clean floor will prevent dirt from being ground into the finish and allow you to achieve the highest level of shine.
Prepping the Burnisher -
Choose the correct burnishing pad for your particular floor finish and machine. Some pads are more aggressive at removing scuff marks, but can also wear down the finish more quickly. Some level of trial and error is to be expected if you don’t already have a perfect match of pads to finish. Lean the machine back on its handle and attach the pad to the high speed driver. Typically there will be a centering device that will screw the into the driver and hold the pad in place. Make sure this piece is properly mounted and tightened to the driver. Click here to view a video of the burnisher Pad installation & removal process.
Prepping Your Solution -
Apply your floor restoring solution by either mopping it onto the floor, or by carrying a spray bottle with the solution mixed in it. A product similar to our Floor Finish Restorer is ideal. As you burnish, you can use the spray bottle to coat the floor. This eliminates any stopping as you're working, and constantly lubricates the pad as you go. You can also use a combination of both of these methods to make the job even easier. Some burnishers will only work well with the mop down method that allows the solution to dry first, so be sure to use the method that your burnisher is meant for.
We also have polishing cream available that can be used instead of the spray burnishing solution. The cream should be applied in 3" long streams. You'll then use the burnisher to spread the solution about. Work the machine forward and back over a portion of that stream to spread the cream. A short stream will clean, polish and restore approximately 600-1200 square feet. Another optional method is to apply small drops on the floor then burnish to a high shine.
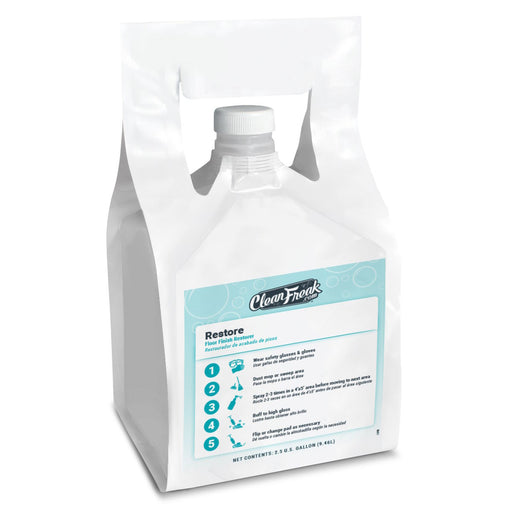
CleanFreak® 'Restore' Floor Finish Restorer (2.5 Gallon FlexMax™ Pouch)
CleanFreak 'Restore' is a ready-to-use floor finish polishing and restoring product that can be used in low speed buffing or high speed burnishing ...
View full detailsBurnishing the Floor -
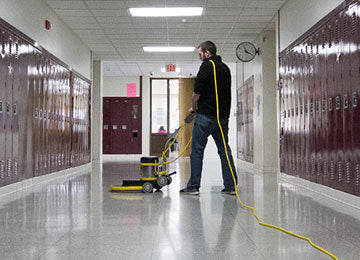
Place the burnisher, with pad attached, in position. Always start the burnisher in a leaned back position, so the pad is not touching the floor. Once you've started the machine, slowly lower the head/pad assembly onto the floor. Apply your burnishing solution/cream of choice and begin to work it in. It is best to start working in small areas and expand as you feel more comfortable. The burnisher will move effortlessly in a forward and reverse motion. All you need to do is guide it in its motion. Some burnishers will allow the head to be dug into a surface, often referred to as heeling, to remove deep scuff marks. Some other units will not allow this manipulation, and can only be floated over the floor as it polishes. The manufacturers often build safety features into their machines like this to achieve longer motor life. When burnishing the floor, using a pattern that allows for some overlapping on each pass will achieve the most brilliant shine on a floor, as no areas will be missed, or under burnished. Burnish until a high shine is achieved. It is a good idea to change your burnishing pads often so they do not load up with debris. If you start to notice you are not achieving the same results as you were with a fresh pad, it is time to either flip that pad over, or to get a new pad.
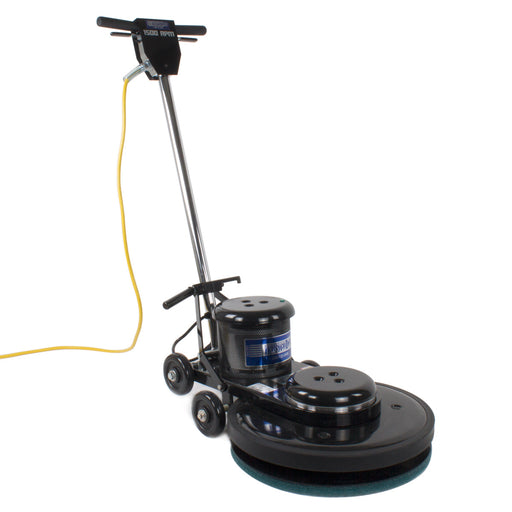
Trusted Clean 20" High Speed Floor Burnisher - 1,500 RPM
This Trusted Clean 20" heavy duty 1,500 RPM high speed floor burnisher is built to last. The machine itself is constructed from a polished stainles...
View full detailsClean Up -
Dust mop and then wet mop the entire area that was just burnished, or scrub it with an auto scrubber, to pick up any dust that was created from the high speed polishing. Using a model like our 1500 RPM dust control burnisher initially, can greatly reduce the amount of dust left over after burnishing, because it recovers the dust at it polishes. As a matter of fact, it nearly eliminates this step of clean up. Remove whatever items you placed out to cordon off the area, like your caution and wet floor signs. Return the original moved objects back to their original positions. Gather up the pads that were used and rinse them out completely. Letting them soak in a water bath for an extended period of time after rinsing, can help to regenerate their polishing capabilities. Much of the dirt that accumulated in the pad can slowly start to works itself free while it sits in the water, making it a cleaner pad for the next time it is used.
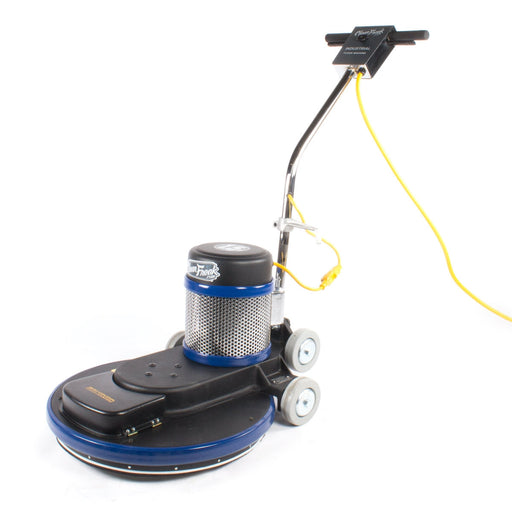
CleanFreak® 20" High Speed Floor Burnisher w/ Dust Control - 1500 RPM
This CleanFreak floor burnisher with dust control uses a 20" burnishing pad and a floor burnishing solution to achieve the highest shine possible o...
View full details


 Protect & Save with SuperFreak.